
In the realm of digital design, the creation of layered SVGs (Scalable Vector Graphics) opens up a world of creative possibilities. Layered SVGs allow for intricate and dynamic designs, providing depth and versatility for various applications such as illustrations, web graphics, and crafting projects. In this comprehensive guide, we will walk you through the step-by-step process of creating layered SVGs, unlocking the potential for multi-dimensional visual storytelling in your designs.
Contents
Understanding the Power of Layered SVGs
Before we embark on the tutorial, it’s crucial to grasp the significance of layered SVGs in digital design:
- Depth and Dimension: Layered SVGs add depth to your designs by allowing you to stack elements on top of each other. This depth creates a sense of dimension, making your graphics visually engaging.
- Versatility: Layered SVGs are versatile and can be used for a wide range of projects, from intricate illustrations to interactive web elements. Each layer can be manipulated independently, providing creative freedom.
- Animation Possibilities: Layered SVGs serve as a foundation for animations. By animating individual layers, you can create dynamic and eye-catching visual effects.
Step 1: Planning Your Design
- Conceptualize Your Design: Before diving into software, have a clear concept of what you want to create. Consider the elements that will make up your design and how they will interact.
- Define Layers: Break down your design into distinct layers. Think about foreground and background elements, and consider how they will contribute to the overall composition.
Step 2: Choosing a Vector Graphic Software
- Select a Suitable Software: Use a vector graphic design tool like Adobe Illustrator, Inkscape, or Affinity Designer. These tools provide the necessary features for creating and managing layered SVGs.
- Create a New Project: Open your chosen software and initiate a new project with dimensions that match your design requirements.
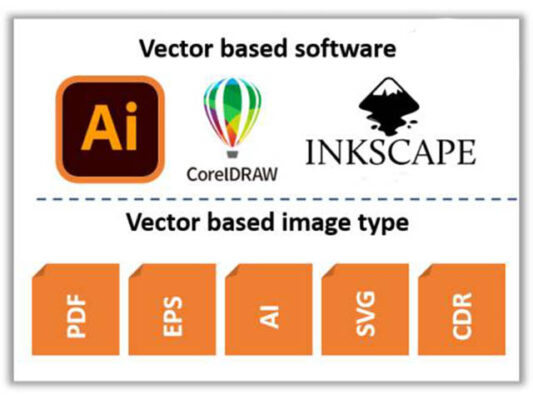
Vector Graphic Software
Step 3: Creating Layers
- Organize Your Canvas: In your design software, organize your canvas by creating layers. Name each layer according to the elements it will contain, such as “Background,” “Foreground,” etc.
- Adding Elements to Layers: Start adding elements to the respective layers. Use basic shapes, text, or imported graphics to build your design.
- Adjusting Layer Order: Easily rearrange the layers to control the stacking order. Elements in higher layers will appear in front of those in lower layers.
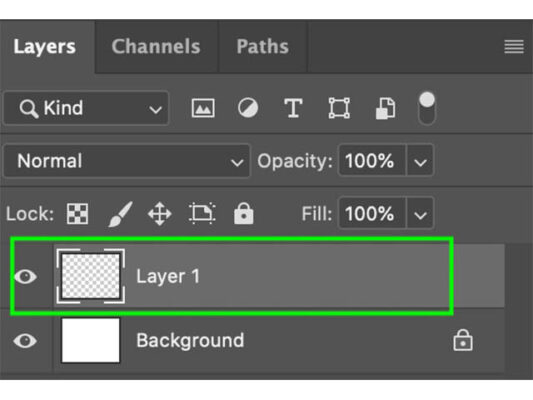
Create Layers
Step 4: Styling and Customization
- Styling Elements: Apply styles, colors, and effects to each layer. Experiment with gradients, shadows, and transparency to enhance the visual appeal.
- Grouping Elements: Group related elements within layers to maintain organization. This makes it easier to manage and manipulate complex designs.
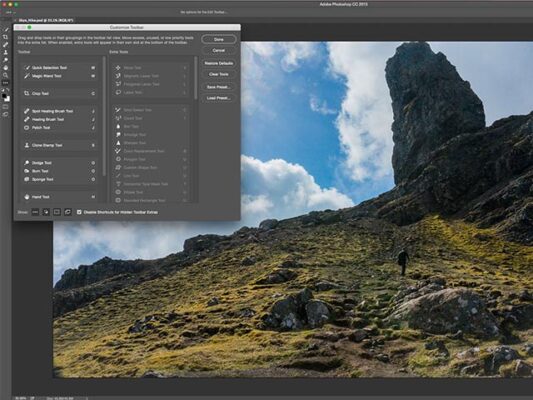
Styling and Customization
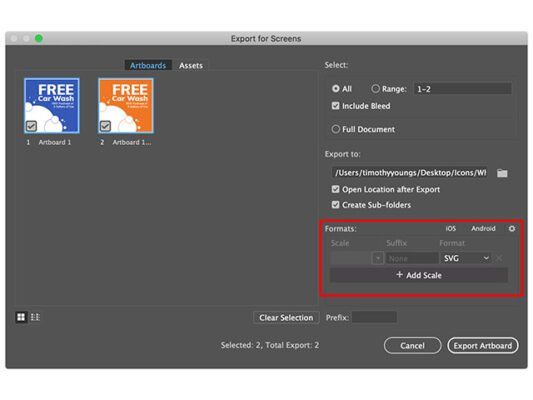
Step 5: Saving as SVG
- Export Options: Once your design is complete, navigate to the export or save options in your software.
- Choose SVG Format: Select SVG as the file format. Most vector graphic software provides options to customize SVG settings, such as embedding fonts or optimizing for the web.
- Saving Preferences: Adjust settings based on your preferences. Ensure that the “Preserve Illustrator Editing Capabilities” or equivalent option is selected to maintain layer information.
Save as SVG
Step 6: Testing and Implementation
- Preview Your SVG: Open the exported SVG file in a web browser or an SVG viewer to ensure that the layers are preserved.
- Implementing in Web Design: If your layered SVG is intended for web use, embed it in your HTML document. Use CSS to control layer visibility or incorporate JavaScript for interactive effects.
Troubleshooting Tips
- Optimizing Performance: For large or complex designs, optimize your SVG by simplifying paths and minimizing unnecessary details to improve rendering performance.
- Consistent Naming: Keep layer names consistent across your design to avoid confusion and ensure proper organization.
- Responsive Design: Test your layered SVG on different devices and screen sizes to ensure a consistent experience.
Congratulations! You’ve successfully navigated the process of creating layered SVGs, unlocking the potential for dynamic and visually captivating designs. Whether you’re crafting illustrations, designing web graphics, or exploring the world of interactive animations, layered SVGs provide a canvas for your creativity to flourish. Embrace the depth, versatility, and storytelling capabilities that layered SVGs offer, and watch as your designs come to life in a multi-dimensional way. Happy crafting!
If you found this content beneficial, consider exploring additional articles on related topics to deepen your understanding and enhance your skills. Feel free to check out the following articles for further insights:
Crafting Brilliance: A Step-by-Step Guide to Transforming Images into SVG for Cricut
Crafting SVG Files in Inkscape with Five Easy Steps!
A Step-by-Step Guide on How to Change a JPG File to SVG
Seamless Crafting: A Step-by-Step Guide on How to Open SVG Files in Cricut Design Space