
In today’s era of limitless artistic expression, technology has made it easier than ever to convert images into specialized file formats, such as SVG. For enthusiasts of crafting, particularly those utilizing the Cricut cutting machine, mastering the skill of converting images into SVG format is both valuable and intriguing. In this comprehensive guide, we’ll explore the straightforward and effective process of turning a picture into an SVG.
Contents
Understanding SVG: A Brief Overview
SVG, or Scalable Vector Graphics, is a file format used for describing two-dimensional vector graphics. Unlike raster images, SVGs are resolution-independent, meaning they can be scaled to any size without losing quality. This scalability makes SVG an ideal format for various applications, including cutting machines like Cricut.
Step 1: Choose the Right Image
Begin by selecting an image you wish to convert into SVG format. Ensure that the chosen image has a sufficiently high resolution to retain details after conversion. Images with high contrast and a simple background tend to work best for this process.

Step 2: Prepare Your Software
Use a popular image editing application such as Adobe Photoshop, GIMP, or other alternatives. Open your selected image in the software and perform any necessary pre-processing, such as cropping or adjusting the contrast, to enhance the clarity of the image.

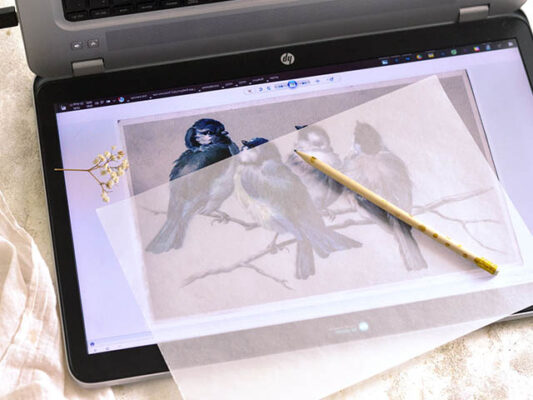
Step 3: Tracing the Image
Tracing is a crucial step in converting an image to SVG. Many graphic design software tools offer an auto-trace feature that can simplify this process. Explore the options in your chosen software to find the tracing tool, and experiment with settings to achieve the desired level of detail.
Step 4: Clean Up the Vector
After tracing, you may need to clean up the resulting vector image. Remove any unwanted elements, smooth out curves, and ensure that the SVG accurately represents the original image. This step is essential for achieving a polished and professional result.

Step 5: Save as SVG
Once satisfied with the vectorized image, save it in SVG format. Most graphic design software allows you to choose the file format during the saving process. Select SVG and make sure to choose the appropriate options for SVG settings, such as preserving layers and text.
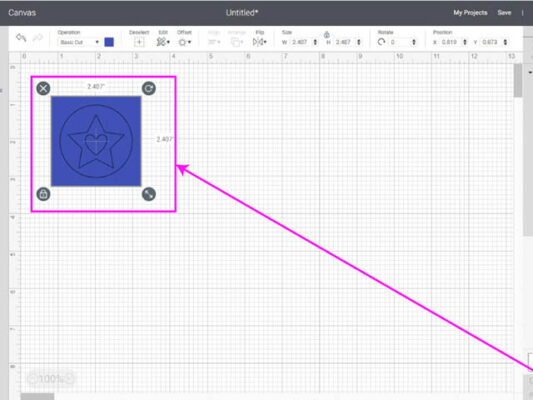
Step 6: Testing on Cricut
Before diving into your main project, it’s advisable to perform a test cut using a simple design. Upload your newly created SVG file to your Cricut design space and initiate a test cut on scrap material. This step helps ensure that the cutting settings are appropriate and that the final output meets your expectations.
Troubleshooting Tips
- Inadequate Image Resolution: If your SVG appears pixelated or lacks detail, consider starting with a higher resolution image.
- Complex Images: For intricate designs, manually adjusting vector points after tracing may be necessary for optimal results.
- Layer Organization: Pay attention to layer organization in your SVG file to maintain design integrity, especially if your original image had multiple elements.
Converting a picture into an SVG for Cricut opens up a world of possibilities for creative projects. With the right image selection, software tools, and attention to detail, you can seamlessly transform your visual ideas into precision-cut designs. Embrace the journey of turning your images into scalable vectors, and let your Cricut bring your artistic visions to life.