
In the realm of graphic design and digital art, creating Scalable Vector Graphics (SVG) files offers a world of possibilities for versatile and high-quality images. Inkscape, a powerful and free vector graphics editor, provides an excellent platform for crafting SVG files. In this guide, we will walk you through five easy steps to make an SVG file in Inkscape, allowing you to unleash your creativity and bring your designs to life.
Contents
Step 1: Setting Up Your Inkscape Canvas
Begin by opening Inkscape and creating a new document. Adjust the canvas size to fit your design specifications. Inkscape allows for flexible canvas settings, making it suitable for various projects, from logos to illustrations. Ensure your document properties are set to meet your preferences, such as units and background color.
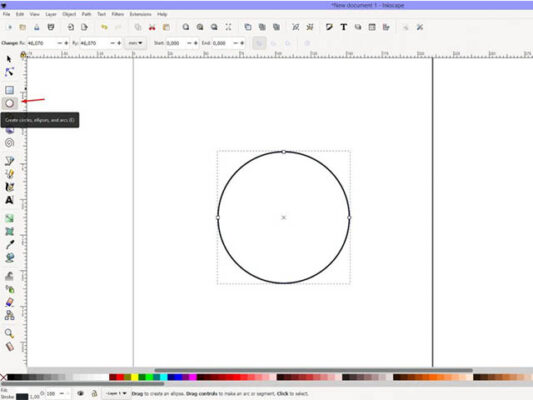
Step 2: Designing Your Vector Graphics
Inkscape provides a plethora of tools for creating vector graphics. Use the drawing tools, shapes, and text functions to craft your design. Take advantage of layers to organize your elements and make adjustments easily. Experiment with different colors, gradients, and effects to achieve the desired look for your SVG file.

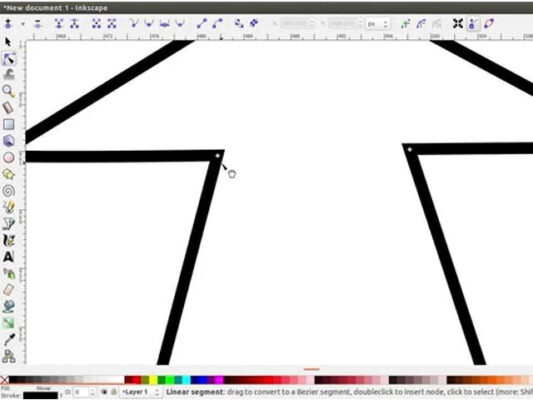
Step 3: Converting to Paths
One of the key features of SVG files is their scalability, and to achieve this, it’s crucial to convert your design elements into paths. Select the objects you want to convert and go to Path > Object to Path. This step ensures that your design is composed of scalable vector paths rather than pixel-based images.
Step 4: Fine-Tuning and Optimization
After converting to paths, fine-tune your design by adjusting nodes and curves. Inkscape provides powerful node editing tools that allow you to refine the details of your vector graphics. Additionally, optimize your SVG file by removing any unnecessary elements or reducing the number of nodes while preserving the integrity of your design.

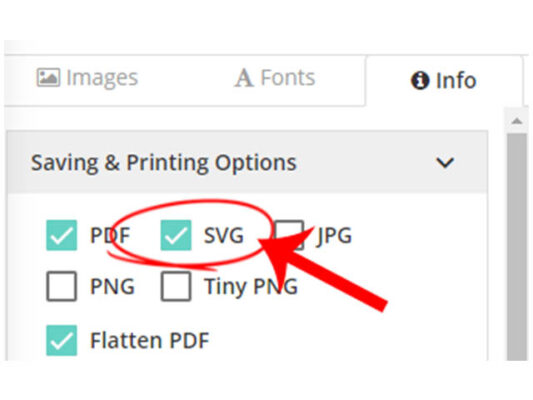
Step 5: Saving as SVG
Once satisfied with your design, it’s time to save your artwork as an SVG file. Navigate to File > Save As and choose SVG as the file format. In the saving options, you can customize settings such as enabling or disabling the Inkscape-specific attributes. Click Save, and your SVG file is ready for use.
Troubleshooting Tips
- File Size: If your SVG file is larger than expected, review your design for intricate details that might be causing unnecessary complexity. Simplify where possible without compromising the overall look.
- Text Handling: When using text in your design, convert it to paths to ensure consistent rendering across different platforms and devices.
- Testing in Browsers: To ensure compatibility, open your SVG file in different web browsers. This step helps identify any rendering issues that may occur.
Congratulations! You’ve successfully created an SVG file in Inkscape in just five easy steps. SVG files offer the advantage of scalability, making them ideal for a wide range of applications, from web design to print materials. As you continue exploring the capabilities of Inkscape, you’ll find endless possibilities for expressing your creativity through scalable vector graphics. Embrace the journey of crafting SVG files and watch as your designs come to life with clarity and precision.
I hope this article on “How to make an SVG file in Inkscape?” has been informative and helpful in your journey to mastering the art of creating SVG files. Inkscape’s versatility and user-friendly features make it a valuable tool for designers and creators alike. If you found this content beneficial, consider exploring additional articles on related topics to deepen your understanding and enhance your skills. Feel free to check out the following articles for further insights: Crafting Brilliance: A Step-by-Step Guide to Transforming Images into SVG for Cricut