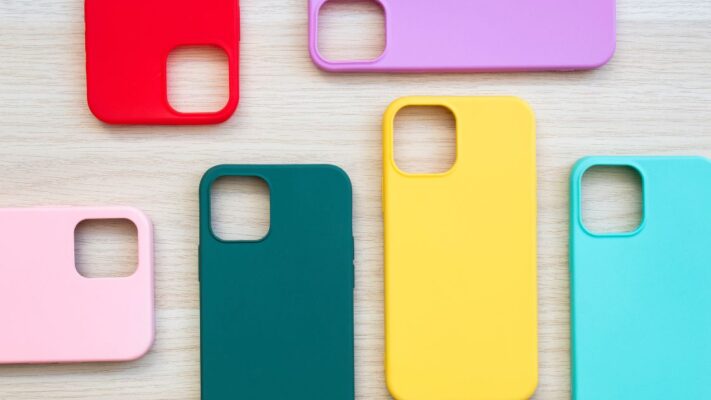

In today’s digital age, personalization is key, especially when it comes to accessories like phone cases. One innovative way to achieve this is by creating your own custom phone cases using 3D printing technology and SVG (Scalable Vector Graphics) designs. Whether you want to showcase your favorite artwork, a memorable photograph, or a unique pattern, making your own 3D printed phone case allows you to express your individual style. Below are detailed steps to guide you through the process:
Contents
What You Need?
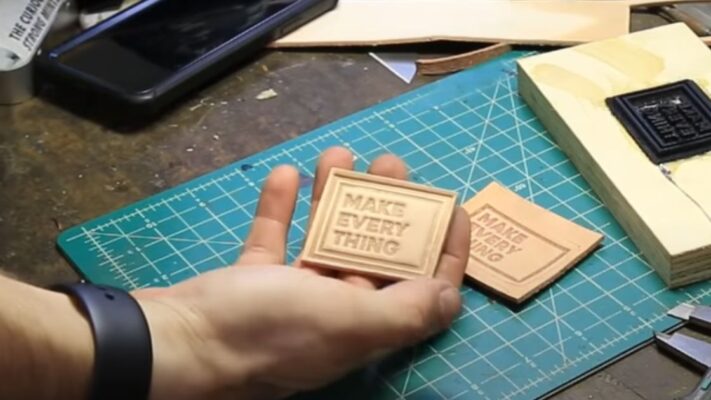
- SVG Design: Choose or create a design that you want to feature on your phone case. SVG files are ideal for this purpose because they are scalable without losing quality.
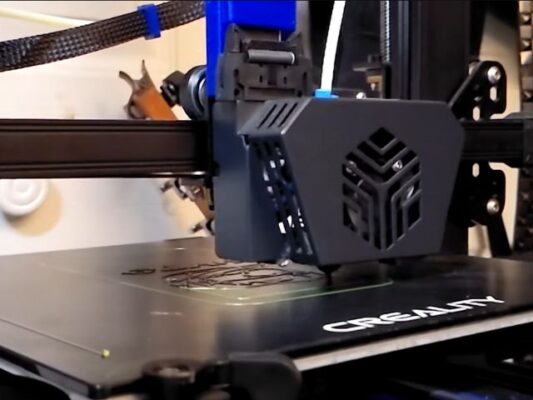
- 3D Printer: Access to a 3D printer is essential for turning your design into a tangible phone case. If you don’t own one, you can often find local makerspaces or businesses that offer 3D printing services.
- Filament: Select the filament material for printing your phone case. PLA (Polylactic Acid) is a popular choice due to its ease of use and wide availability. However, other materials like ABS or PETG can also be used depending on your preferences.
- Slicer Software: Use slicing software such as Cura, Simplify3D, or PrusaSlicer to prepare your SVG design for 3D printing. This software converts your design into a format that the 3D printer can understand, slicing it into layers and generating the necessary instructions for printing.
- Phone Case Template: You’ll need a template or model of the phone case that fits your specific phone model. Many online repositories offer free or paid downloadable templates for various phone models. Alternatively, you can design your own template based on the dimensions of your phone.
- 3D Modeling Software (Optional): If you prefer to customize the phone case’s design further or create your own template, you’ll need 3D modeling software like Blender, Tinkercad, or Fusion 360.
How To Create Personalized 3D Printed Phone Cases from SVG Designs
Prepare Your Design
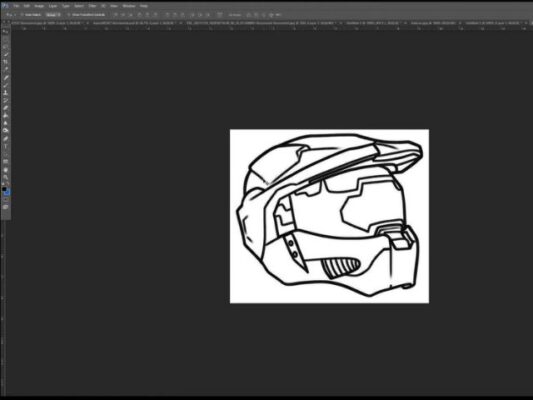
Import your chosen SVG design into your preferred 3D modeling software if further customization is desired. Otherwise, ensure that the design is ready for printing and in the appropriate format.
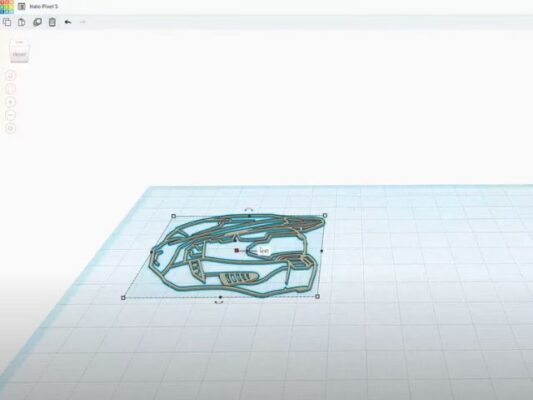
Open Slicer Software
Launch your slicing software and import the SVG design file. Adjust settings such as layer height, infill density, and print speed according to your preferences and the capabilities of your 3D printer.
Load Phone Case Template
Import the phone case template or model into the slicing software. Ensure that it aligns correctly with your design and adjust its position or size if necessary.
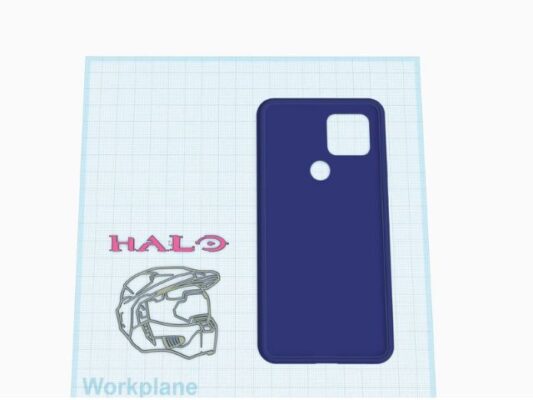
Merge Design with Template
Combine your SVG design with the phone case template within the slicing software. This step involves positioning the design on the template to ensure proper placement on the final phone case.

Generate G-Code
Once the design is merged with the template, generate the G-Code, which contains instructions for the 3D printer. Review the G-Code preview to confirm that everything appears as intended.
Start Printing
Transfer the G-Code file to your 3D printer and initiate the printing process. Monitor the print closely, especially during the initial layers, to ensure proper adhesion and quality.
Post-Processing
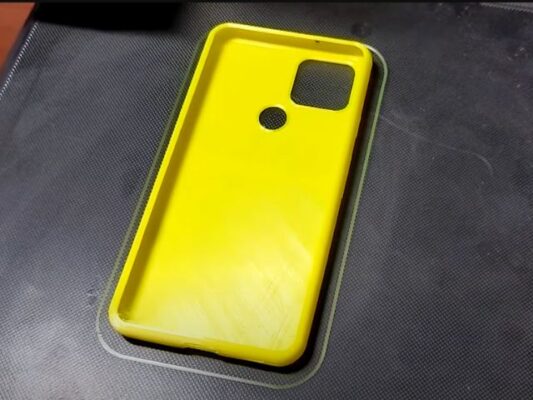
Once printing is complete, carefully remove the printed phone case from the print bed. Depending on the filament used, you may need to perform additional post-processing steps such as sanding, painting, or applying a protective coating.
Attach to Your Phone
Once any post-processing is complete, your custom 3D printed phone case is ready to use. Attach it to your phone and enjoy your personalized accessory!
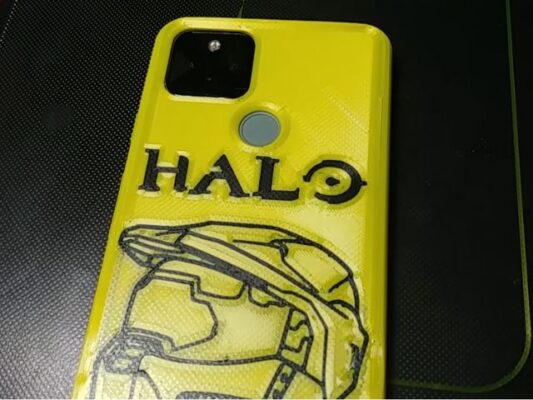
By following these detailed steps, you can create unique and personalized phone cases using 3D printing technology and SVG designs. Whether you’re showcasing your creativity, displaying your favorite artwork, or adding a personal touch to your device, the possibilities for customization are endless.
Related Posts