
Cricut Design Space, a cutting-edge platform for crafters and creators, offers a world of possibilities for bringing your SVG (Scalable Vector Graphics) designs to life. In this comprehensive guide, we’ll walk you through the straightforward process of opening SVG files in Cricut Design Space, ensuring that your crafting journey is smooth, enjoyable, and filled with precision.
Contents
- 1 Understanding SVG and Its Role in Cricut Design
- 2 Step 1: Preparing Your SVG Files
- 3 Step 2: Accessing Cricut Design Space
- 4 Step 3: Initiating a New Project
- 5 Step 4: Importing Your SVG Files
- 6 Step 5: Adjusting and Inserting
- 7 Step 6: Resizing and Positioning
- 8 Step 7: Additional Design Elements
- 9 Step 8: Saving and Cutting
- 10 Troubleshooting Tips
Understanding SVG and Its Role in Cricut Design
Before we embark on the tutorial, let’s briefly understand the importance of SVG files in the context of Cricut Design Space. SVG is a file format that allows for the creation of scalable vector graphics, making it an ideal choice for designs that need to maintain clarity and quality, particularly when using cutting machines like Cricut.
Step 1: Preparing Your SVG Files
- Begin by ensuring that your SVG files are ready for use. These files may be created using graphic design software like Adobe Illustrator, Inkscape, or even downloaded from reputable design platforms.
- Verify that your SVG files are free from complex raster images and are composed primarily of scalable vector elements. This ensures optimal performance when imported into Cricut Design Space.

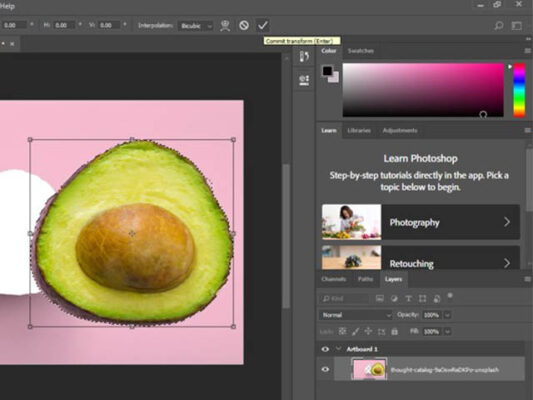
Preparing SVG Files
Step 2: Accessing Cricut Design Space
- Open your web browser and navigate to the Cricut Design Space website.
- Log in to your Cricut account. If you don’t have one, you’ll need to create an account to access the Design Space features.
Cricut Design Space
Step 3: Initiating a New Project
- Once logged in, click on the “+ New Project” button to start a new crafting project.
- This will open a blank canvas within Cricut Design Space, providing a virtual workspace for your creative endeavors.
Initiating a New Project
Step 4: Importing Your SVG Files
- Click on the “Upload” button on the left-hand toolbar. This will open the Upload screen where you can import your SVG files.
- Select “Upload Image” and then click on the “Browse” button. Locate and select the SVG file you wish to import.
- Once selected, click on “Open” to upload the SVG file to Cricut Design Space.
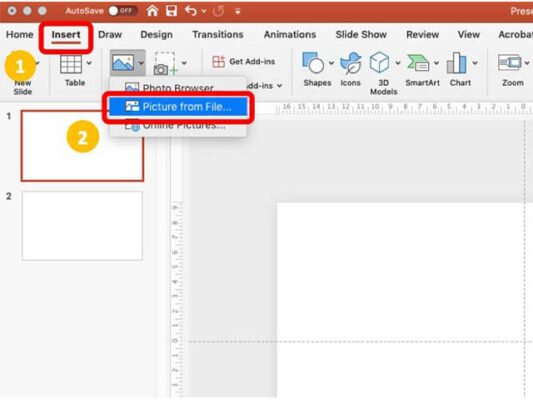
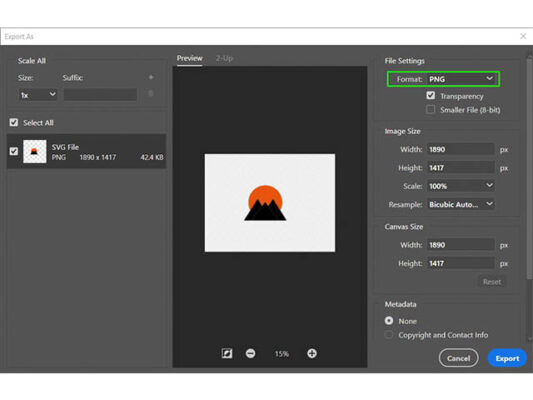
Import SVG Files
Step 5: Adjusting and Inserting
- After uploading, you’ll be prompted to optimize your image. Confirm that the preview looks accurate and choose the appropriate image type (Simple, Moderately Complex, or Complex) based on your design complexity.
- Click on “Continue” to move to the next screen, where you can add tags and give your image a name for easy reference in the future.
- Select the uploaded SVG file and click on the “Insert Images” button to add it to your project canvas.
Adjust and Insert
Step 6: Resizing and Positioning
- Your SVG file is now on the canvas. Click and drag to resize or reposition it as needed.
- Take advantage of the size and position options in the toolbar to fine-tune the placement of your SVG design.
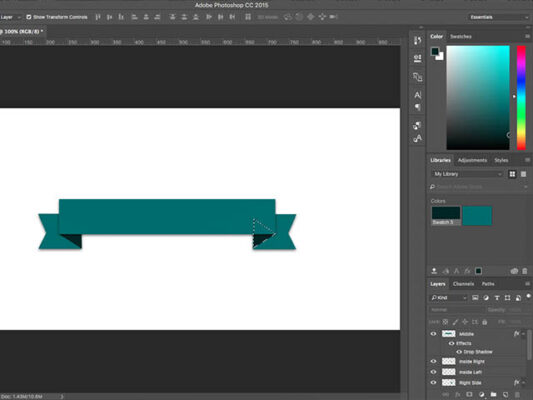
Resize and Position
Step 7: Additional Design Elements
- Enhance your project by adding additional design elements, text, or shapes from the Cricut Design Space library.
- Experiment with different colors and arrangements to achieve the desired look.
Additional Design Elements
Step 8: Saving and Cutting
- Once satisfied with your design, click on the “Make It” button.
- Follow the on-screen prompts to select your material settings, load the material into your Cricut machine, and initiate the cutting process.
Save and Cut
Troubleshooting Tips
- Complex Designs: If your SVG file contains intricate details, ensure that it’s optimized for cutting by simplifying paths and removing unnecessary elements.
- Browser Compatibility: If you encounter issues, try using a different web browser or updating your current browser to the latest version.
- File Compatibility: Confirm that your SVG file is compatible with Cricut Design Space. If issues persist, consider re-exporting the file from your design software.
Congratulations! You’ve successfully navigated the process of opening SVG files in Cricut Design Space. The seamless integration of scalable vector graphics into your crafting projects opens up a world of creative possibilities. Whether you’re designing intricate paper crafts, custom apparel, or personalized home decor, Cricut Design Space empowers you to bring your vision to life with precision and ease. Enjoy your crafting journey with Cricut! If you found this content beneficial, consider exploring additional articles on related topics to deepen your understanding and enhance your skills. Feel free to check out the following articles for further insights:
Crafting Brilliance: A Step-by-Step Guide to Transforming Images into SVG for Cricut
Crafting SVG Files in Inkscape with Five Easy Steps!
Mastering the Art: A Comprehensive Guide on Crafting SVG Logos in Photoshop