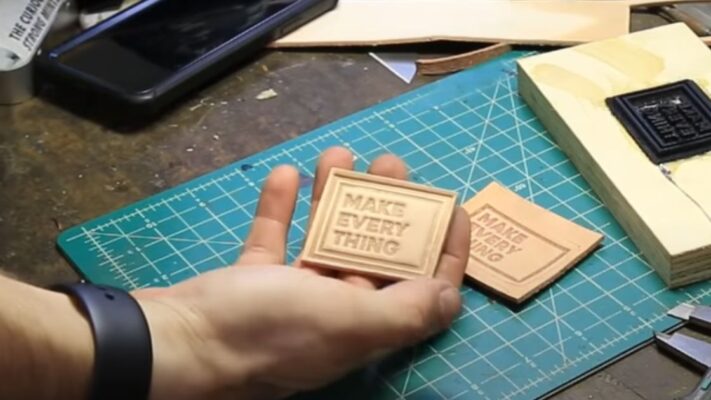

Embossed leather patches add a touch of sophistication and style to various items, from bags and jackets to wallets and accessories. With the advent of 3D printing technology, crafting intricate and customized embossed designs on leather has become more accessible than ever. In this guide, we’ll walk you through the process of creating embossed leather patches using 3D printed embossing plates.
Contents
Materials Needed
- 3D Printer: Choose a 3D printer capable of printing detailed designs with fine resolution. Resin-based printers are often preferred for their ability to produce high-quality prints suitable for embossing.
- 3D Modeling Software: Use software like Blender, Autodesk Fusion 360, or Tinkercad to design your embossing plate. Ensure that the design is compatible with your 3D printer and suitable for embossing onto leather.
- Filament or Resin: Depending on the type of 3D printer you’re using, you’ll need filament (for FDM printers) or resin (for resin-based printers) to create the embossing plate.
- Leather: Choose high-quality leather suitable for embossing. Vegetable-tanned leather works well for this purpose due to its firmness and ability to hold detail.
- Embossing Tools: You’ll need tools such as a roller, cutting mat, and embossing stylus to transfer the design from the embossing plate to the leather.
- Safety Gear: Wear appropriate safety gear such as gloves and eye protection when handling 3D printing materials and tools.
Creating Embossed Leather Patches Using 3D Printed Embossing Plates
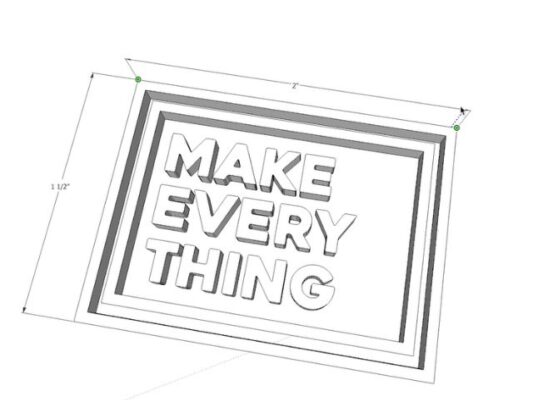
Design Your Embossing Plate
- Use your chosen 3D modeling software to create a design for your embossing plate. Keep in mind factors such as size, depth, and intricacy of the design.
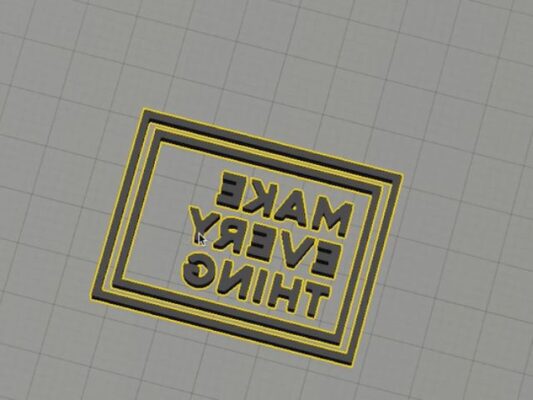
- Ensure that the design is reversed (mirrored) horizontally, as it will be embossed onto the backside of the leather.
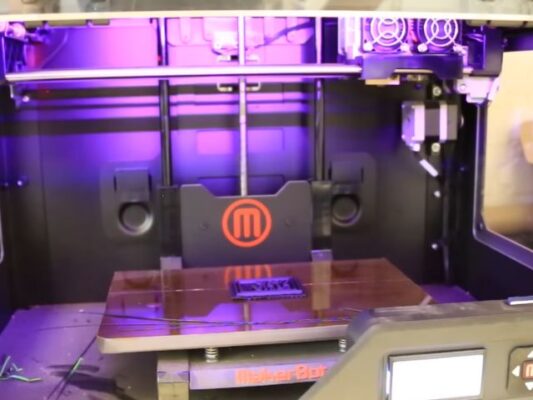
Prepare Your 3D Printer
- Load the design file into your 3D printer software and adjust settings such as layer height, print speed, and support structures as needed.
- Start the printing process, ensuring that the printer is properly calibrated for optimal print quality.
Print the Embossing Plate
- Allow the 3D printer to complete the printing process. Depending on the complexity of the design and the type of printer, this may take several hours.
- Once the printing is finished, carefully remove the embossing plate from the printer bed and clean off any support structures or excess resin/filament.
Prepare the Leather
- Cut a piece of leather to the desired size for your patch. Ensure that the leather is clean and free from any debris or blemishes that could affect the embossing process.
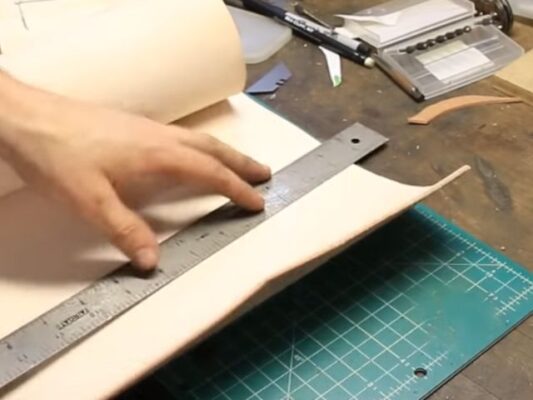
Emboss the Leather
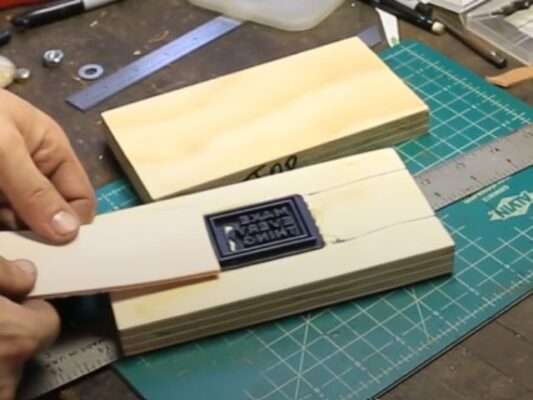
- Place the leather on a flat, stable surface such as a cutting mat.
- Position the 3D printed embossing plate on top of the leather, ensuring that it is aligned properly.
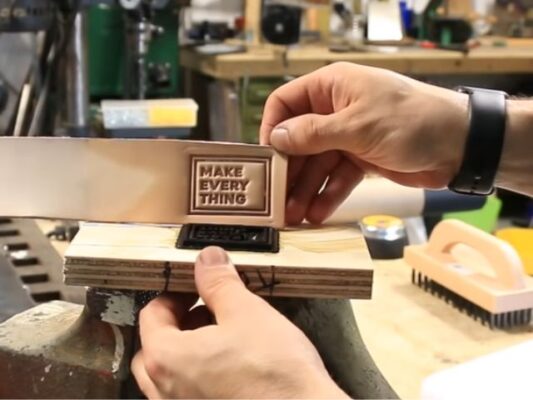
- Use a roller or press firmly with your hands to transfer the design from the embossing plate to the leather. Apply even pressure to ensure uniform embossing.
Finishing Touches
- Once the design has been transferred, carefully remove the embossing plate from the leather.
- If desired, you can further enhance the embossed design by painting or dyeing the leather to highlight the raised areas.
- Allow the leather patch to dry completely before using it in your desired application, whether it’s sewing it onto a garment or attaching it to an accessory.
How 3D Printed Embossing Plates Work
- 3D printed embossing plates work by transferring a three-dimensional design onto a flat surface, such as leather, through pressure and heat. The embossing plate features a raised pattern or design that is pressed into the leather, creating a raised impression of the design.
- When the embossing plate is pressed firmly onto the leather and rolled or pressed with a roller, the raised areas of the plate apply pressure to the leather, causing it to deform and take on the shape of the design.
- The depth and detail of the embossed design are determined by the height and intricacy of the raised areas on the embossing plate. Finer details require a higher level of precision in both the design of the plate and the 3D printing process.
- After the embossing process is complete, the leather retains the raised impression of the design, creating a textured and visually appealing surface that adds dimension and character to the finished piece.
In conclusion, 3D printed embossing plates are a game-changer for crafting custom embossed leather patches. With the use of 3D modeling software and advanced 3D printers, enthusiasts and artisans can easily create intricate designs to add a personalized touch to their leatherwork. This innovative technology opens up new possibilities for creativity in leather crafting, making it more accessible and efficient than ever before.
Related Posts